How to Clean Cloudy Headlights: What Actually Works and What Doesn't
Get clearer headlights with practical cleaning tips, a restoration checklist, and answers to common questions about toothpaste, baking soda, and UV protection
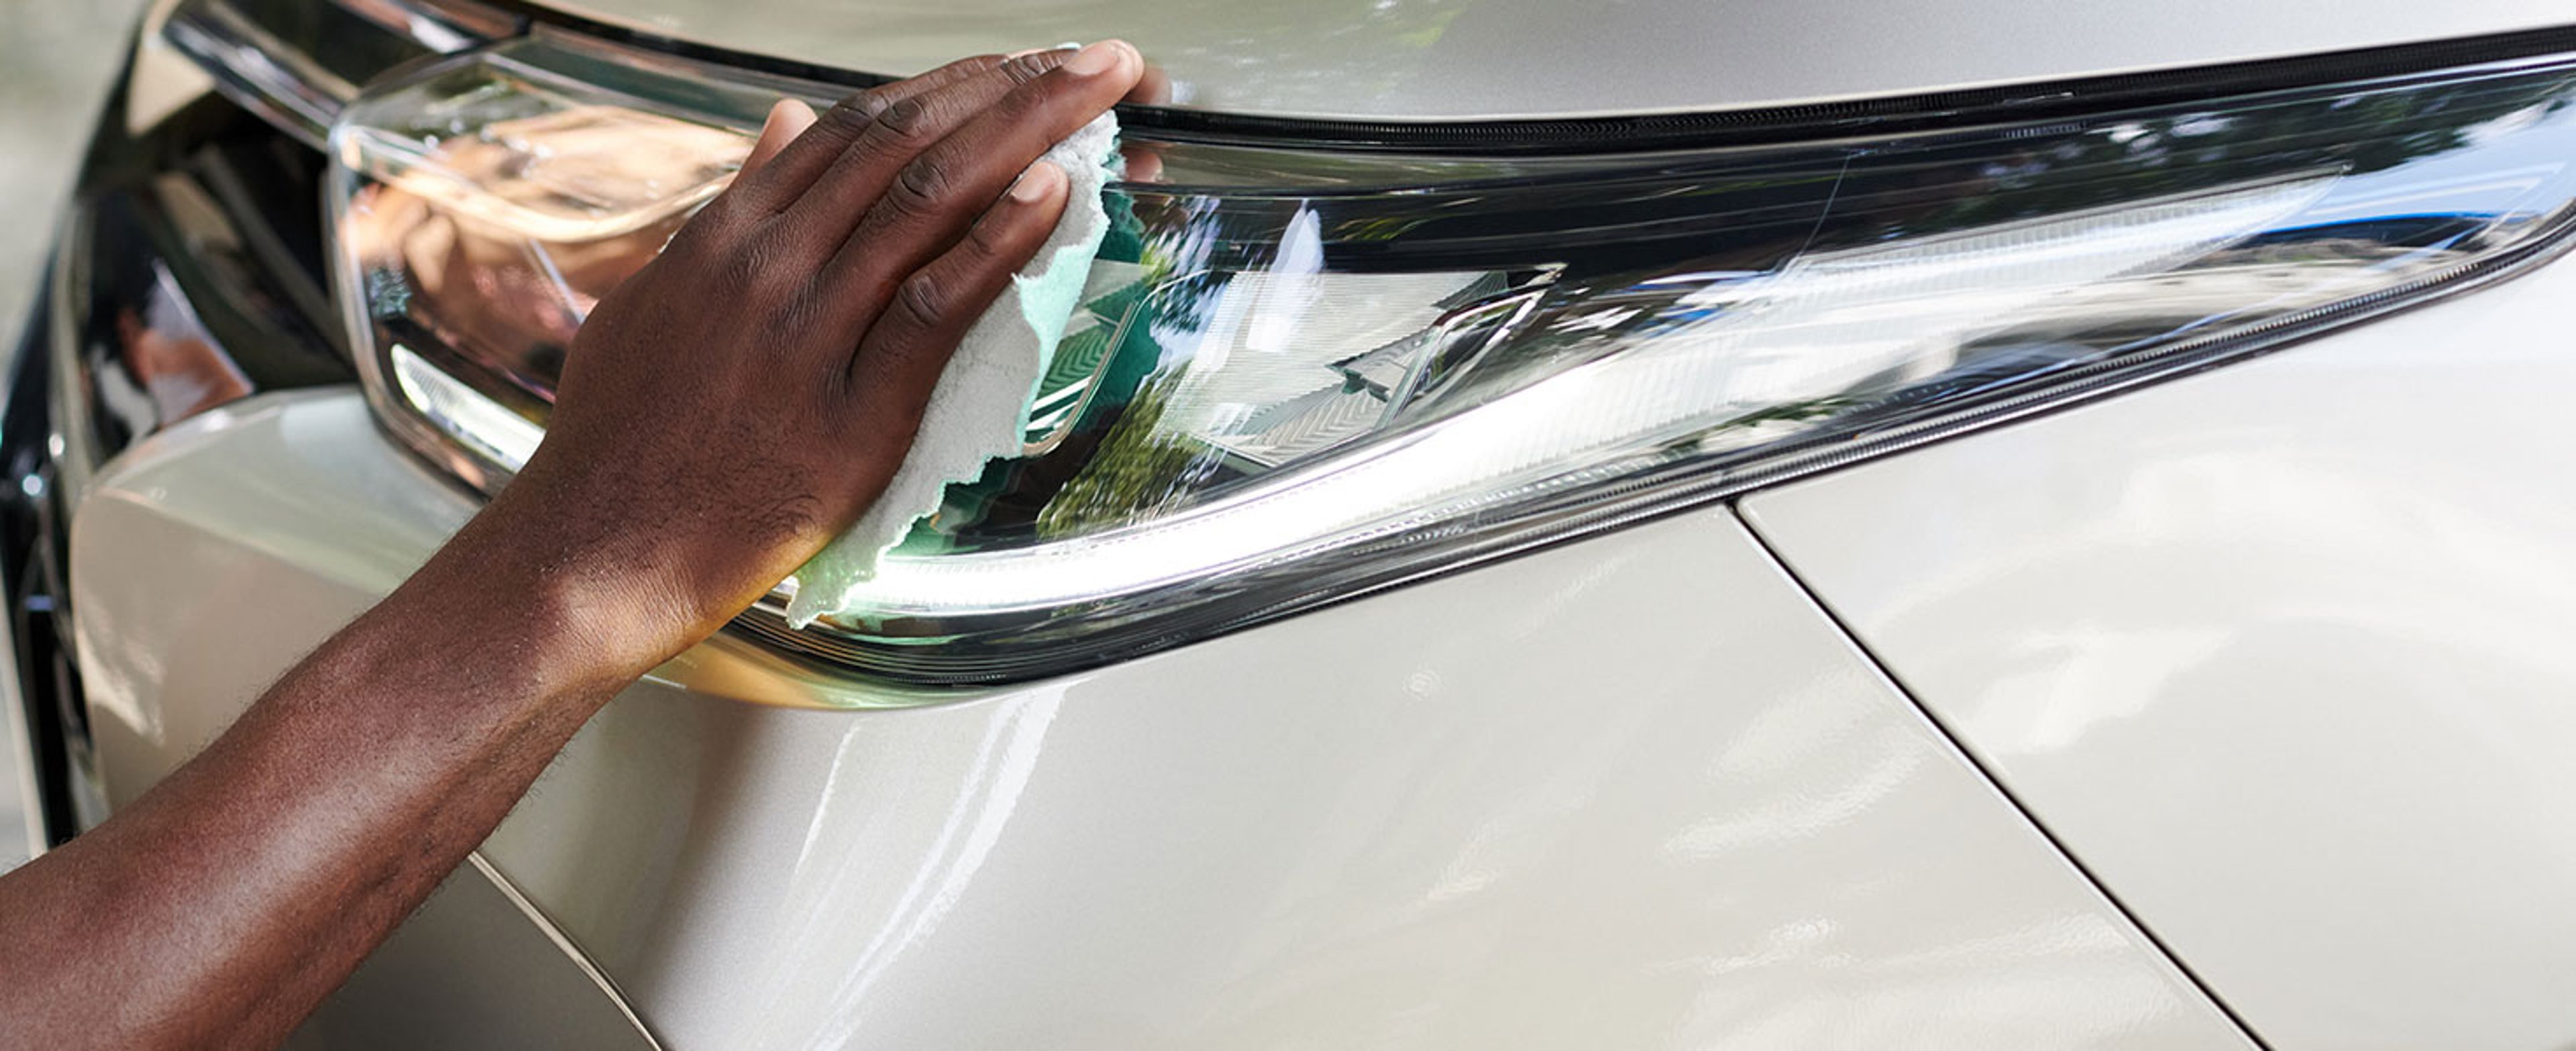


Cloudy headlights can make it harder to see the road at night. The right fix depends on what is causing the haze: surface dirt calls for cleaning, while yellowing or oxidation may need restoration.
For dirty lenses, start with automotive car-wash soap, water, and a soft microfiber cloth. For oxidized plastic headlights, use a purpose-built restoration kit that includes UV protection. Household hacks such as toothpaste may improve the appearance of light haze temporarily, but they do not replace the lens’s protective coating.

Why do headlights turn yellow or cloudy?
Many modern headlight lenses are made from polycarbonate plastic with a protective coating. Sunlight, weather, and road debris can wear down that coating, allowing the surface to yellow or become hazy. A car wash can remove dirt, but it cannot repair a deteriorated coating.
Not all fogginess is on the outside. When moisture gets inside a headlight housing, polishing the exterior will not remove it.
Cleaning or restoration: Which do you need?
- Dirt or road film: Wash and dry the outside of the lens first. If it looks clear afterward, basic cleaning may be enough.
- Yellowing or a hazy surface that remains after washing: Consider a restoration product designed for your lens material.
- Moisture inside the housing: Persistent condensation or pooled water needs inspection; exterior cleaning will not fix it.
- Cracks, peeling coatings, or poor light output despite clear lenses: Have a technician assess the assembly, bulbs, and alignment.
Do DIY headlight cleaning hacks actually work?
Toothpaste: A temporary option, not a lasting repair
Some toothpastes contain mild abrasives that may reduce light surface haze. Results depend on the lens condition and toothpaste formula, and abrasive products can scratch or affect the coating. Toothpaste does not restore UV protection. A cleaner or polish specifically labeled for headlights is a more predictable choice.
Baking soda, vinegar, and lemon: Not the first choice
Baking soda is abrasive, and acids such as vinegar or lemon juice do not rebuild a damaged protective coating. Homemade mixtures can leave residue or affect surrounding finishes. Rather than repeatedly scrubbing the lens with kitchen ingredients, use products approved for automotive plastic headlights.
Restoration kits: A more targeted approach
A purpose-built kit may include cleaner, polishing compound, sanding materials, and a protective finish. Choose a kit compatible with your headlights, and follow every step, especially the UV-protection step. Not every kit uses sanding, and skipping or changing the recommended process can damage the lens.
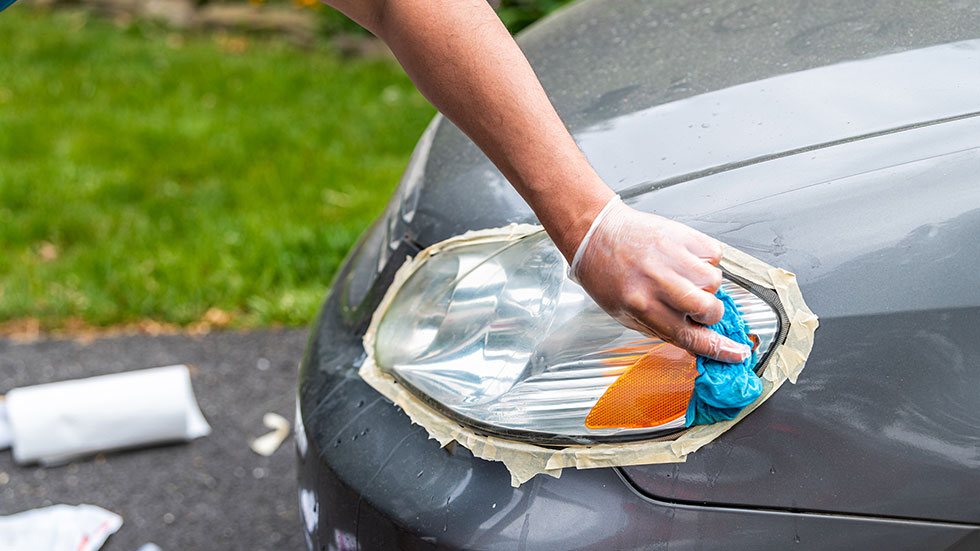
How to clean and restore headlights safely
Work on cool headlights in a shaded area. Check your vehicle’s care guidance and the restoration product’s instructions before starting.
- Wash the lenses. Use automotive car-wash soap, water, and a clean microfiber cloth to remove grit. Rinse and dry so loose debris does not scratch the surface during polishing.
- Inspect the haze. Check whether it is on the outside or inside the housing. Stop and seek advice if the lens is cracked, water is collecting inside, or the coating is badly damaged.
- Protect nearby surfaces. Use suitable automotive masking tape around the headlights to protect paint and trim. Wear any protective equipment the product manufacturer recommends.
- Follow the kit’s cleaning and polishing steps. If sanding is included, use only the specified materials and sequence. Do not improvise with coarse sandpaper or use powered tools unless the instructions call for them.
- Apply the recommended UV protection. Use the lens-compatible protective product specified by the kit. Follow preparation and curing instructions, including when the vehicle can be washed or exposed to rain.
- Check the result. Once the product has cured, inspect the lens, and check that both headlights work. If visibility is still poor, arrange an inspection rather than continuing to abrade the plastic.
Headlight cleaning methods to avoid
- Bug spray or insect repellent: Chemicals in these products can damage plastic and nearby paint.
- Acetone and other strong solvents: These can harm lens material, coatings, and painted surfaces.
- Oven cleaner, scouring pads, or aggressive household cleaners: Do not use them unless the product is specifically approved for your lens material.
- General-purpose clear coats: Do not substitute ordinary paint products for a finish specifically designed and approved for headlight lenses.
How to help keep headlights clear
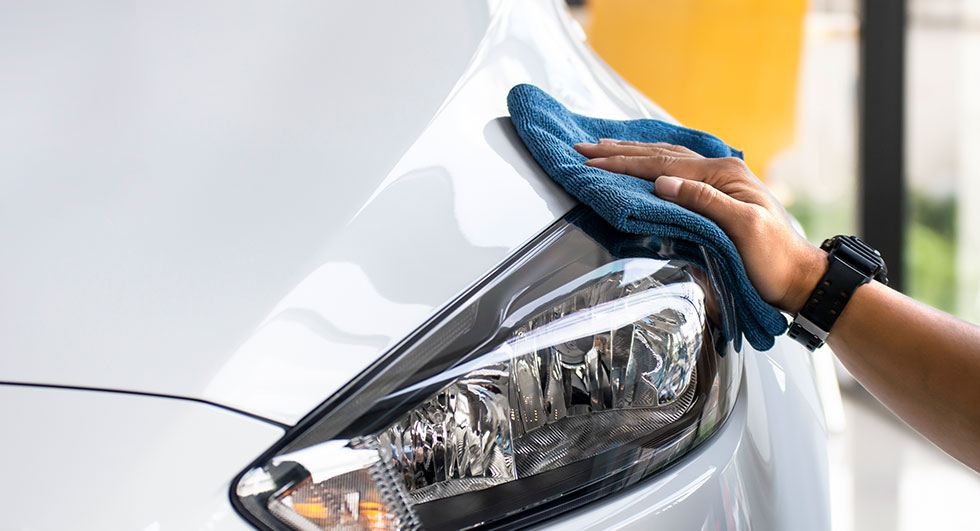
Wash away road grime regularly with vehicle-safe products and soft cloths. Park out of direct sunlight when possible. After restoration, maintain or reapply the lens-compatible protective coating according to the manufacturer’s instructions. Check the lenses periodically to address haze before visibility worsens.
When should you get professional help?
Seek an inspection if restoration does not improve visibility, the lens is cracked, water collects inside the housing, or one headlight is much dimmer than the other. Cloudy lenses, failing bulbs, electrical problems, and misalignment require different fixes. Cleaning cannot solve all of them.
Contact a AAA Car Care center or AAA Approved Auto Repair facility to ask about available services and whether restoration, adjustment, or replacement is appropriate.
Headlight cleaning FAQ
What is the best way to clean cloudy headlights?
Start by washing away dirt with automotive car-wash soap and a microfiber cloth. If haze or yellowing remains on the exterior, consider a compatible headlight restoration kit with UV protection. Persistent internal moisture or damaged lenses need inspection.
Does toothpaste really clean headlights?
Toothpaste may reduce mild surface haze because some formulas contain abrasives. Results are temporary and vary, and it can affect the lens coating. It does not restore UV protection or repair cracks. A headlight-specific product is a safer option.
Can baking soda and vinegar restore yellow headlights?
They do not restore a worn UV-protective coating. Baking soda may abrade the surface, while vinegar is acidic; the mixture is not a substitute for a lens-compatible restoration process. Use a purpose-built product rather than relying on repeated household treatments.
Can I clean headlights without sanding?
Yes, if the issue is dirt or light surface haze. Washing or a compatible headlight polish may be enough. More severe oxidation may require a kit that includes sanding or professional restoration. Follow the product instructions rather than sanding every lens automatically.
Is bug spray safe to use on headlights?
No. Insect repellent can damage plastic lenses, coatings, and nearby paint. A lens appearing clearer immediately afterward does not mean the treatment is safe or durable.
How long does headlight restoration last?
There is no single lifespan. Results depend on lens condition, preparation, protective coating, sunlight exposure, and maintenance. Follow the restoration product’s durability and care guidance; polishing without UV protection can allow haze to return sooner.
Why are my headlights still foggy after cleaning?
The problem may be oxidation, a deteriorated coating, internal moisture, or physical damage rather than surface dirt. If compatible exterior cleaning or restoration does not help, have the assembly inspected.
How do I remove condensation inside a headlight?
Exterior cleaning will not remove internal condensation. A small amount of temporary mist can occur in some vented assemblies, but persistent fogging or pooled water should be checked according to the vehicle manufacturer’s guidance. Do not drill the housing or use improvised sealants.