


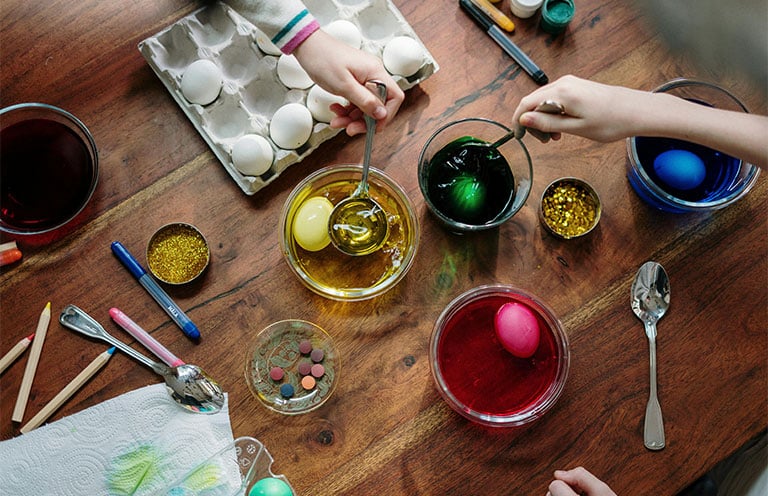
This time of year, it’s not uncommon to find children with blue and pink fingertips—and that’s a good thing. It means they’ve been taking part in one of the season’s most beloved activities: decorating Easter eggs. It’s a centuries-old tradition that leaves even the most careful dippers with food-colored fingertips.
Decorating Easter eggs, however, doesn’t always have to involve food dye. Modern approaches range from coating eggs in glitter to Martha Stewart’s silk-dyeing technique.
Whatever your decorating preference, you’ll need to prep the eggs first. Start by washing the eggs, and then decide whether to boil them or hollow them out.
- Boiled eggs are sturdier and easier to handle, especially for young kids. They also can be eaten afterward if food-safe dyes are used.
- Hollowed eggs are lighter and can last indefinitely—but are more delicate and prone to cracking. To achieve a hollow egg, use a pin to prick a hole in both ends. Gently blow the white and yolk into a bowl—or use a syringe. Sauder’s Eggs provides step-by-step instructions on its
- Alternative options include decorating wooden craft eggs or plastic eggs.
Once your eggs are ready to decorate, here are some techniques to try.
1. Dyed eggs
Use a PAAS Egg Decorating Kit or a mixture of food coloring and vinegar to dye your eggs. To make the mixture, combine one-half cup of boiling water with a teaspoon of vinegar and five to 10 drops of food coloring. Use a glass container so that you can see the egg change color. Find step-by-step instructions on Food.com.
2. Glitter eggs
For a shimmery effect on your eggs, the Juggling Act Mama recommends first coating cooled eggs with acrylic paint, and then once they’re dry, apply a coat of Elmer’s or Mod Podge glue. Finally, gently roll the wet eggs in a container of glitter for even coverage. You could also add fake gems and sequins.
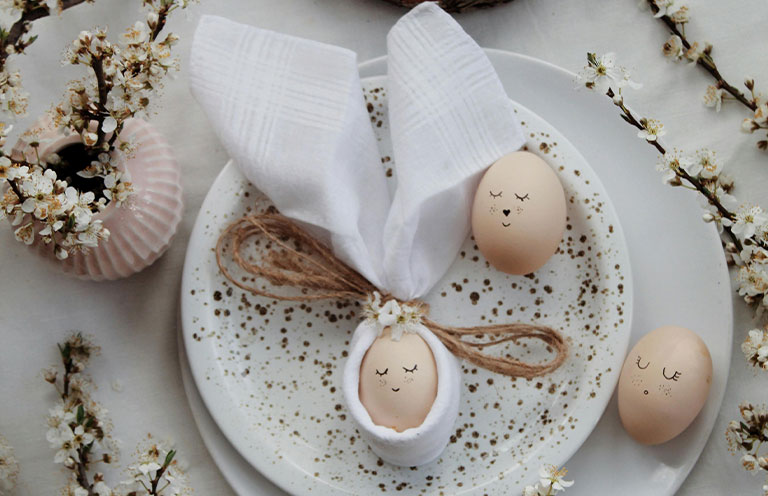
3. Character eggs
Googly eyes, feathers, and other craft supplies can transform eggs into animals, superheroes, or fun characters like Mr. Potato Head. We love this simple formula for Teenage Mutant Ninja Turtles eggs—all it requires are green dye, googly eyes, different colored ribbon, and glue.
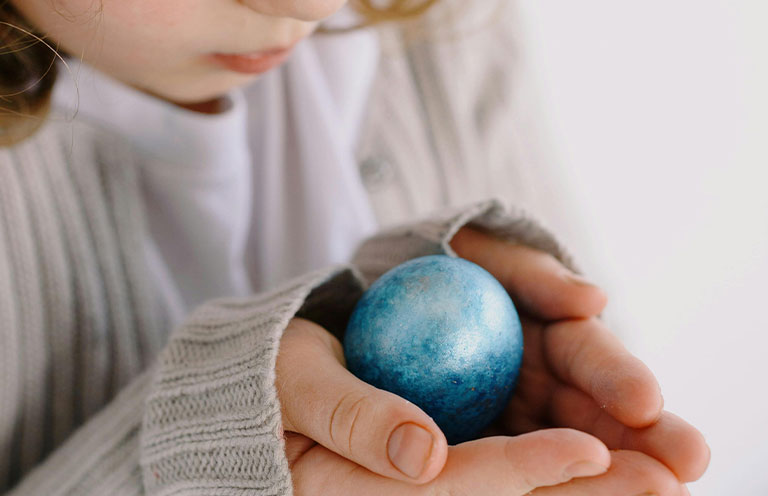
4. Marbleized eggs
Oil and water may not mix, but they will create a cool effect on your Easter eggs. To achieve a marbleized look, just add a tiny bit of oil to your vinegar-based dye solution. Find step-by-step instructions on the McCormick website.
5. Tie-dye eggs
To give your eggs a groovy look, drizzle rubber cement on your eggs before dyeing them to create white contrast spots. (Once you’re done dying the eggs, you’ll peel off the cement to reveal the design.) Next, mix one-third cup of baking soda, one tablespoon of water, and three drops of food coloring for each shade. Place the eggs in a muffin tin, apply the colors, then use a dropper to apply a small amount of vinegar onto each egg; the fizzing reaction between the vinegar and baking soda will create a tie-dye effect. Access full instructions on the Better Homes & Gardens website.
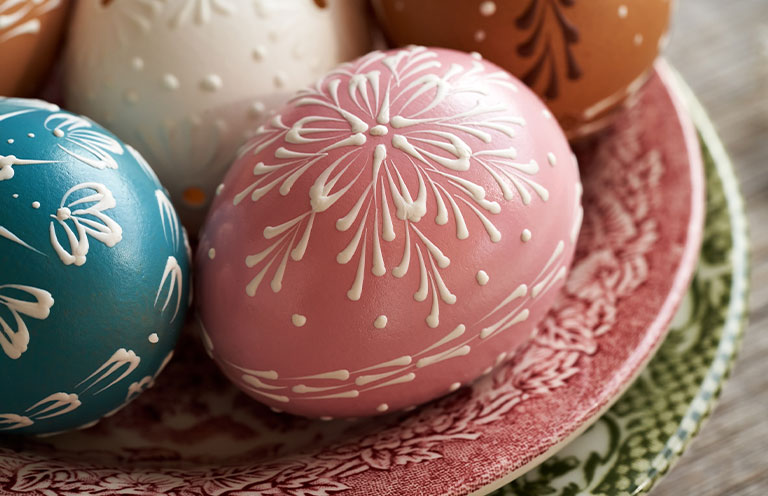
6. Drawings on eggs
Draw a pattern or picture on the shell using a white crayon and then dye the egg. The color won’t adhere to the waxy drawing. If you’re feeling more ambitious, you can dye eggs with melted crayons, using these step-by-step instructions from A Thrifty Mom.
7. Rubber band patterns
No crayons? Use rubber bands to keep the dye from coloring parts of the egg. Remove the rubber bands once the egg is fully dry to reveal crisp patterns.
8. Spray-painted eggs
A coat of metallic paint and metallic markers are an easy way to bring glam to your Easter eggs. Remember to spray the paint in a ventilated area.
9. Imprinted eggs
Give your eggs unique patterns by painting bubble wrap and pressing it onto the shell—like a sponge, but more fun! For a silk-transfer, wrap eggs in patterned silk, secure with cotton cloth, and simmer in vinegar for 20 minutes. The silk print should transfer beautifully. Tip: Test it on one egg first to avoid ruining a precious carton of eggs. Check out the Martha Stewart website for details.
10. No-mess eggs
Say goodbye to the dyes, the smells, and the cleanup. The EggMazing Egg Decorator is perfect for parents who want to keep their kids' hands (mostly) clean. Just place an egg on the spinner, and use markers to create vibrant designs effortlessly.
11. Art-Your-Way eggs
Think outside of the box—or in this case, the Easter egg carton. Use your imagination with stencils, sponge paint, acrylics, and stickers to create designs on dyed or undyed eggs—designs that are uniquely your own.
Whether you choose one or several methods, remember to have fun. Tuck the finished products into baskets and bowls. Or consider an Easter egg hunt. Glittery, sparkling and tie-dye eggs will turn the pursuit into an aesthetic adventure.