


When it comes to the maintenance and performance of our vehicles, we all understand that regular oil changes are part of keeping them functional and healthy. But for many of us who rely on our trusted mechanics to provide advice and perform maintenance, we may not have ever learned how to check oil levels on our own. This very simple, free maintenance item can help us get ahead of leaks or other engine issues that may not be apparent to people who don't drive our car every day. Below are the steps drivers should take at least once a month to monitor the health of their vehicle's oil.
Step 1: Park your vehicle on a level surface and let it cool
In order to ensure we have an accurate reading when we check oil levels, it's important that the vehicle has been sitting on a level surface and is cool. A cool vehicle means the oil has had a chance to settle in the oil pan and is not freshly distributed within the engine among all its parts. A level surface will also ensure your oil is sitting in the proper place to take an accurate measurement.
Step 2: Open hood and locate dipstick
You will find a hood release latch somewhere under your steering column which will give you access to your vehicle's engine. Once you have the hood open, you will be able to find the dipstick. Dipstick handles are typically brightly colored, often yellow, and should have a similar picture to the oil light on your dash. If you are having trouble locating your hood release or dipstick, refer to the owner's manual.

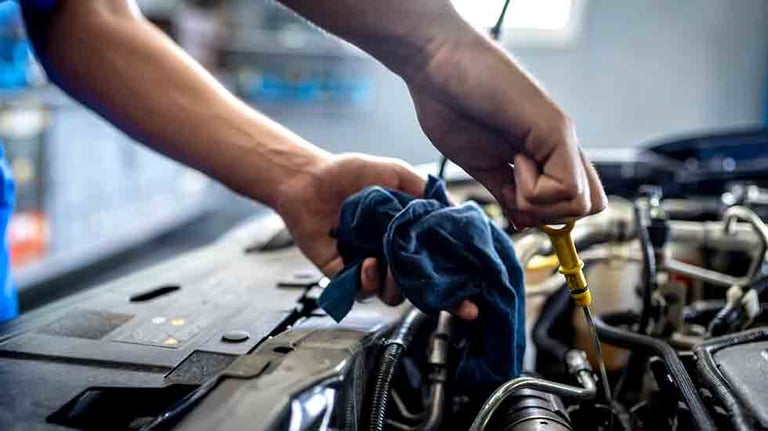
Step 3: Pull your dipstick out and wipe with a cloth
When you first pull your dipstick from the engine, it will be coated in oil from the last time you ran your vehicle. Wipe excess oil from the stick to clear it and get ready to take a reading.
Step 4: Re-insert the wiped dipstick into your engine
Now take your cleaned dipstick and insert it all the way back into the engine to take an oil level reading.
Step 5: Remove dipstick and read
When you remove the dipstick a second time, you will now have a proper reading of the oil level on your vehicle. A proper oil level reading will have a fill line between the L and F marks on your dipstick. If levels are between the L and F, then your oil level is OK.
If you check your oil levels and find that they're near the L, it could be an indication that you have an oil leak. This early indicator can help you get out in front of expensive repairs and prevent catastrophic damage to your engine. In addition, you should pay attention to any fluids or puddles that form under your vehicle while it is parked as these can also be early indicators of a problem.
Checking oil levels is easy, free, and a regular maintenance item, like monitoring tire pressure, that drivers should be able to handle on their own. Being conscientious of the inner workings of your vehicle will make you a safer driver and, in the long run, save you money by preventing the need for larger, more expensive repairs.