

Museums, art galleries and most model homes share one trait: They all boast beautifully arranged photographs, paintings, and collectibles on one or more walls.
With minor effort, you, too, can create a jaw-dropping display on your home’s walls. “Creating a wall in your home serves both fashion and function,” says Marty Basher, a designer with Modular Closets and an expert in home design and organization. “A wall gallery can bring stylish focus to a large room, showcase treasured collections, or highlight family memories.”
PICK YOUR PIECES
To start, select artwork that inspires you or makes you feel happy, says Candita Clayton of Candita Clayton Gallery, located in Pawtucket, Rhode Island, and New London, New Hampshire.
“Filling your walls with unique and joyous pieces requires no budget or pretentious art world prerequisites,” she says. “Pick pieces that make you feel something. If that’s your jumping point, you’ll make anything work.”
Alissa Rosenstein of Long Neck, Delaware, has a “mirror wall.” “It started with just the big rectangular mirror above the mantle and grew from there,” she says. “I just placed them where they seemed to fit, and every time I think it’s done, I find something new to add.”
Chef Tom Hannum created what wife Michelle calls the “Wall of Tom” in their Middletown, Delaware, home. The former executive chef at the Hotel du Pont in Wilmington displays his culinary awards and mounted newspaper coverage above a sofa.
In Ocala, Florida, Carol DeWitt created a “wedding wall” showcasing generations of brides and grooms. “My grandparents had larger families, and I inherited many pictures,” she explains.
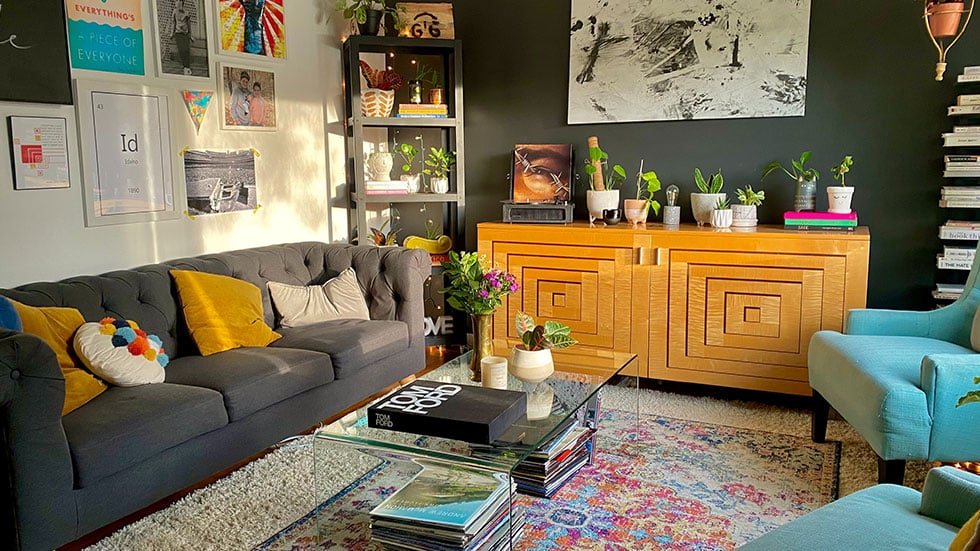
Feel free to combine two-dimensional and three-dimensional items. Consider an assortment of masks from a trip abroad along with photographs from the journey or prizes, sports jerseys and other memorabilia.
“Similar textures and colors can create a cohesive feeling, but the introduction of different textures and mediums can bring depth to the space,” Clayton says.
SELECT THE SPACE
Basher prefers to match the collection to a room. Picture copper molds in a dining room or sports items in the den.
Consider the size, Basher says. Use lighter colors and smaller collections in small spaces. Large walls, however, can handle stronger colors, more dominating paintings for photographs, and expansive assortments of small items.
Hallways and staircases are also familiar backdrops for a gallery of artwork.

CHOOSE A STYLE
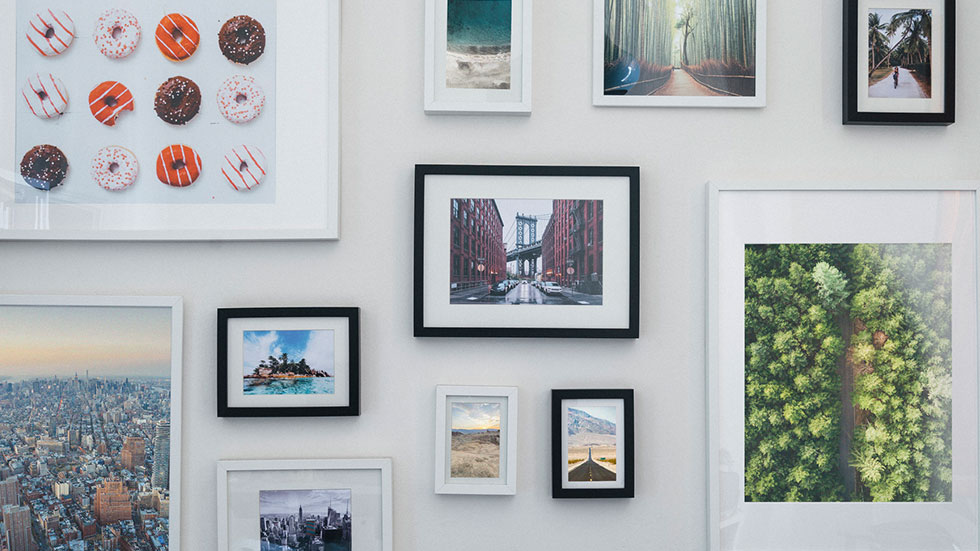
If items are the same size, a symmetric arrangement is pleasing. For instance, Melinda Girardi of Lewes, Delaware, used FreePrints Photo Tiles to create an orderly wall of family pictures. The site turns customer’s images into 8-inch-by-8-inch photo tiles and supplies a level for spacing. “Very cool,” she says.
Keepsake is another app that will frame your digital photos. You choose the frame.Meanwhile, shops like Pottery Barn can also remove the guesswork. The company sells a boxed set of 15 frames, as well as single frames with 16 openings
If items are of different sizes and types, place the most significant piece as a focal point. Then connect the dots with a unifying element, such as a tree painted on the wall behind multiple-sized frames with family pictures. Or place the photos around your family’s initials.
PLAN
Basher recommends placing a large piece of paper on the floor and arranging the items until you find the look you like. Then trace and cut out a pattern for each.
Don’t have a large enough piece of paper? Girardi’s father used newspaper to make the templates, which he taped to the wall until satisfied.
HANG
If you’re renting a home, picture shelves will help avoid peppering the plaster with holes. Or use another type of fastener. Girardi’s lightweight tiles, for example, adhere to the wall without nails.
Otherwise, you’ll need a hammer and nails. Clayton also recommends gathering the following tools: tape measure, small and large levels, pencils, a Magic Eraser, a variety of hooks, wall stabilizers, wire, wire cutters, blue painter’s tape, and a tube of spackle.
On your patterns, indicate the type of hardware needed and note precisely where it goes. Then place the template on the wall and use it as a guide for the hardware. Once you’re done, tear the paper from the wall and hang the artwork.
Not sure how high to hang? Clayton recommends centering the focal piece 63 inches from the floor.
STAY FLEXIBLE
As in a museum or gallery, artwork can change. “Your space isn’t stuck in time,” Clayton says. Rotate the arrangement, move pieces in and out to refresh the room. “It’s forever changing.”