
When you look up at the sky and aim to capture a sunset, full moon, or the Milky Way with your camera, you may not always get the results you hoped for. Yet, many of us are fascinated by night sky photography and continue to travel to locations for optimal star gazing. Whether you are a novice or an expert—with these tips and tricks you will be able to travel to the right places to capture galactic moments.

Where to photograph the night sky?
83% of the world's population lives under a light-polluted sky. Which means, the best places to see objects in the sky are national parks, beaches, and rural areas, on clear cloudless nights. Also, plan your trip around meteorological events, such as monthly moon cycles, meteor showers, and Aurora Borealis (also known as the Northern Lights) near Fairbanks, Alaska, from October-March.
Still, don’t rule out cities completely. According to The International Dark Sky Places conservation program, there are 195 certified IDSPs in the world, some of which include these urban cities of Arizona—Flagstaff, Camp Verde, Fountain Hills, Sedona, Cottonwood—plus the Kaibab Paiute Reservation in Arizona.
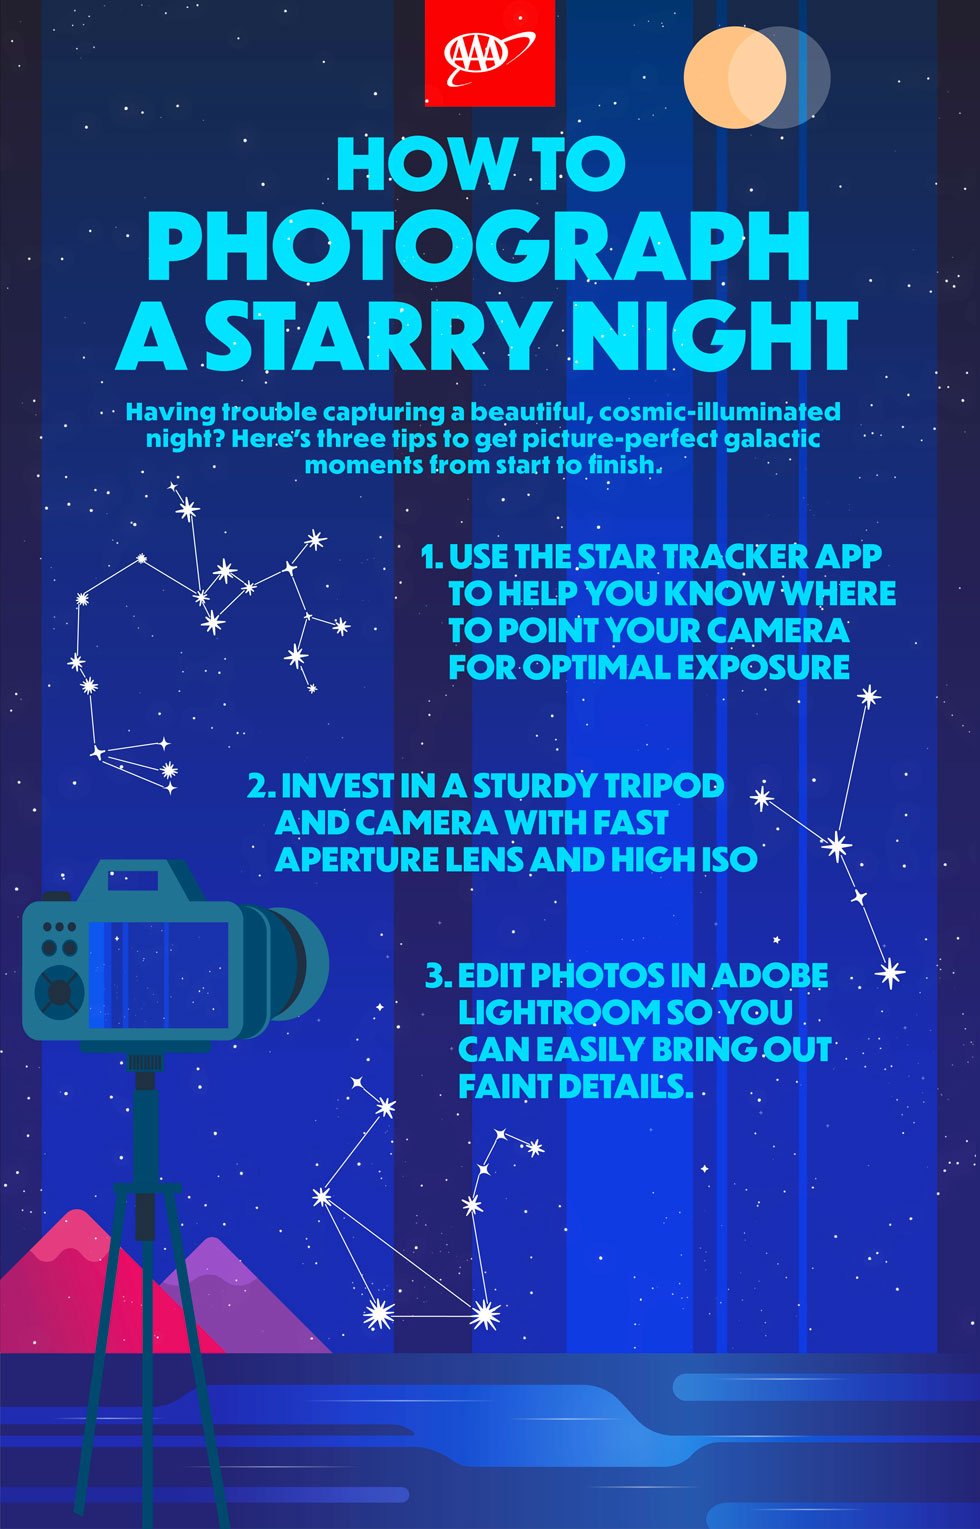
Even if you travel to the right location at the right time of the day, you still need to know which direction to aim your camera, especially if you have never been there before. Instead of pointing to the sky randomly, use Star Tracker, a mobile sky map and stargazing guide that moves with the earth’s rotation so slowly that it allows you to take a longer exposure. Just hold your device up to the sky to find star clusters, constellations and deep sky objects in real time. If that doesn’t work, ask a park ranger to point you in the right direction!

How to take the best night sky photos?
You can also learn about night sky photography through Instagram and YouTube. Will Guard started taking photographs of the Milky Way near his hometown, at White Sands National Park about five years ago. Guard says, he started playing around with his camera settings and smartphone apps to capture the gas clouds against the glistening dunes and desert landscapes of New Mexico. “Adding some foreground and landscapes makes the images pop more,” adds Guard.
Carolina-coast based Nick Noble also uses backdrops of lighthouses as backgrounds for his moon and sun shots. He recommends starting out with the Milky Way, as it is easy to see with the naked eye. Moon photos are relatively easier to take when its rising and setting, as the light is well balanced. And advance to meteor showers once you have a good understanding of how to use your camera settings. “Once you see a meteor, it is already too late to take a picture of it,” says Noble.
Most professionals use the app Photopills, to forecast sun and moon positioning using augmented reality, and to plan shoot location and camera settings. The app also demonstrates how the sky will look during different times of the day, so you can set up at the destination accordingly.

What’s the best equipment?
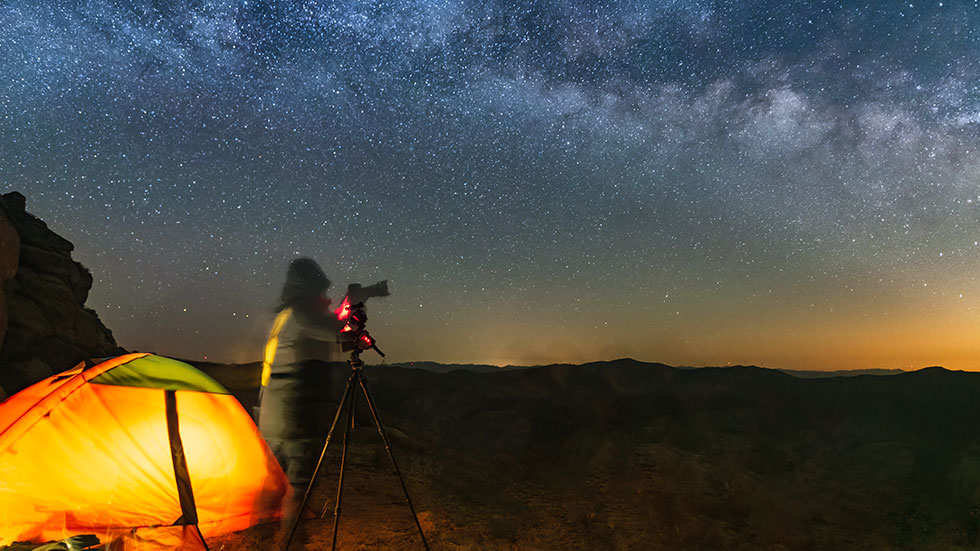
For astrophotography, you need to have some basic gear, such as a stable tripod and a camera that allows you to change settings manually. Low light and mirrorless cameras with fast aperture lens (24mm, F-1.4), and high ISO, capture stars and the Milky Way without making the photo grainy. “By changing camera settings to “peaking color” you can also turn the stars red, yellow or white in color,” says Guard.
New smartphone cameras are also good at capturing the Northern Lights as long as you manually set it on night mode, long exposure (120x, 4 seconds), turn off the flash, and stabilize it on a tripod. Adobe Lightroom makes it easy to edit photos on smartphones and computers, so you can bring out the faint details and stack images.
The most important things when being outdoors are to know your surroundings, be safe, and to not disturb nature. Guard says, “Your first few photos may not turn out amazing, but be patient, practice often and have fun!”
