How to Easily Select and Change Your Car’s Battery
Your go-to guide for DIY battery replacement, with expert tips from AAA


Changing your car’s battery on your own may seem daunting, but with a little guidance, you can easily perform this task. Whether you’re experiencing slow starts, flickering lights, or your vehicle won’t start altogether, knowing how to replace a car battery can be a valuable skill if your battery is performing poorly. This step-by-step guide, crafted with insights from AAA, will walk you through the process, ensuring you can confidently tackle this essential maintenance task.
Understanding your car battery
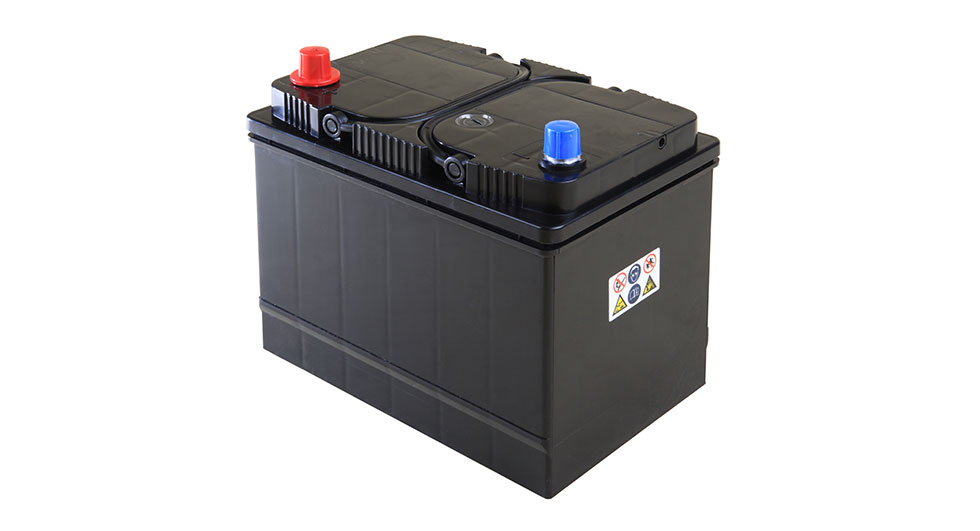
Car batteries typically last between three to five years, depending on usage and environmental factors. Understanding your car battery’s specifications and ensuring compatibility with your vehicle is crucial before making a purchase. Here’s what you need to know.
- Battery Size and Type: Check your owner’s manual or current battery for the group size (e.g., Group 24, Group 35) and specifications (e.g., Cold Cranking Amps - CCA, Reserve Capacity - RC) required for your vehicle.
- Maintenance: Determine whether your battery requires maintenance (e.g., adding distilled water) or if it’s maintenance-free (sealed). Consult your owner’s manual for additional information.
Tools and supplies you'll need
Before starting, gather the necessary tools and supplies:
- Safety Equipment: Safety goggles and gloves
- Tools: Adjustable wrench or socket wrench set, corrosion-removal tool (wire brush), battery terminal cleaner, and a battery terminal protector.
- Supplies: New battery, battery anticorrosion washers (if not included with the new battery), and baking soda solution for cleaning.
Step-by-step battery replacement guide
Step 1: Preparation
- Safety First: Park your vehicle on a flat surface, engage the parking brake, and turn off the engine.
- Accessing the Battery: Locate your battery under the hood. Some vehicles may have the battery hidden under a cover.
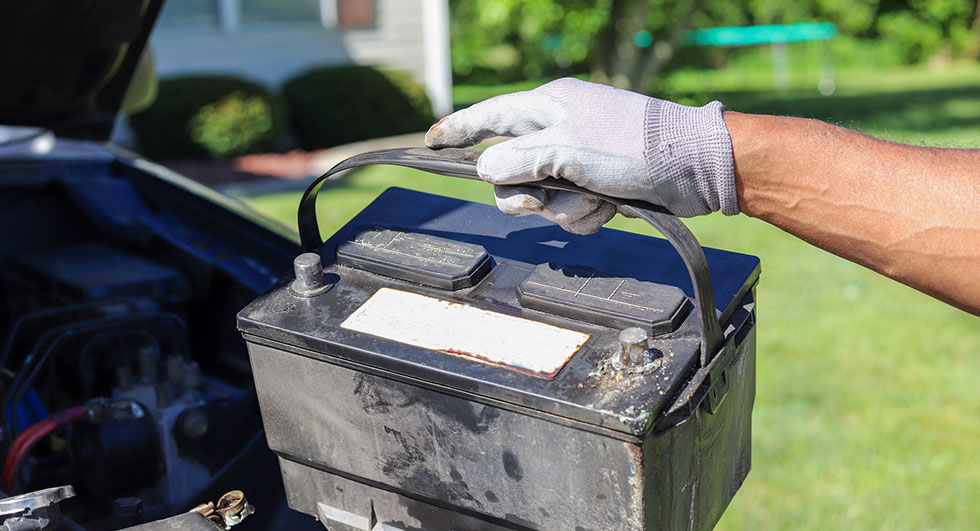
Step 2: Removing the Old Battery
- Disconnecting the Battery: Always disconnect the negative (black) cable first, followed by the positive (red) cable. Use the appropriate wrench to loosen the terminal clamps.
- Removing the Battery: Lift the old battery out carefully, ensuring not to tip it over and spill battery acid.
Step 3: Preparing the New Battery
- Cleaning Terminals: If necessary, use a corrosion-removal tool and baking soda solution to clean the cable ends.
- Installing Battery Anti-Corrosion Washers: Place anticorrosion washers on the cables if they weren’t preinstalled.
Step 4: Installing the New Battery
- Positioning the Battery: Carefully place the new battery into the tray, ensuring it’s secure.
- Connecting Terminals: Attach the positive (red) cable first, followed by the negative (black) cable. Tighten the terminal clamps securely.
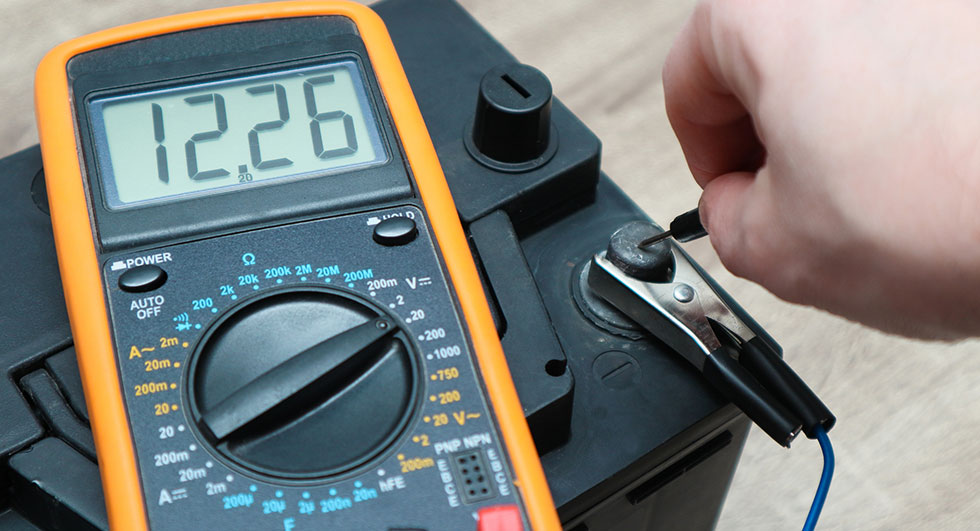
Step 5: Testing the Installation
- Final Checks: Double-check all connections, and ensure the battery is securely in place.
- Testing: Start your vehicle to verify the battery replacement was successful. Check for proper functionality of lights, the radio, and other electrical components.
Expert tips for battery maintenance
- Regular Inspections: Periodically check your battery for signs of corrosion or loose connections, which is a white, blue or green poweder surrounding one of the battery terminals, posts or cables.
- Battery Testing: Use AAA’s free battery testing service to monitor your battery’s health if you’re a AAA member.
- Proper Disposal: Dispose of old batteries at a recycling center since they contain lead and sulfuric acid, which cause environmental hazards.
Replacing your car’s battery doesn’t have to be intimidating. Armed with this step-by-step guide, you’ll have the knowledge and tools to easily perform this essential maintenance task and ensure your vehicle starts reliably every time.
Remember, regular maintenance and inspections can extend the life of your battery and prevent breakdowns.