4 Tips To Breeze Through Airport Security
How to reduce wait times—and alleviate stress—including tapping the benefits of TSA PreCheck and Clear membership


No matter your reason for travel or your destination, all air travelers share the common experience of navigating airport security. These four tips can help you breeze through security without extra delays.
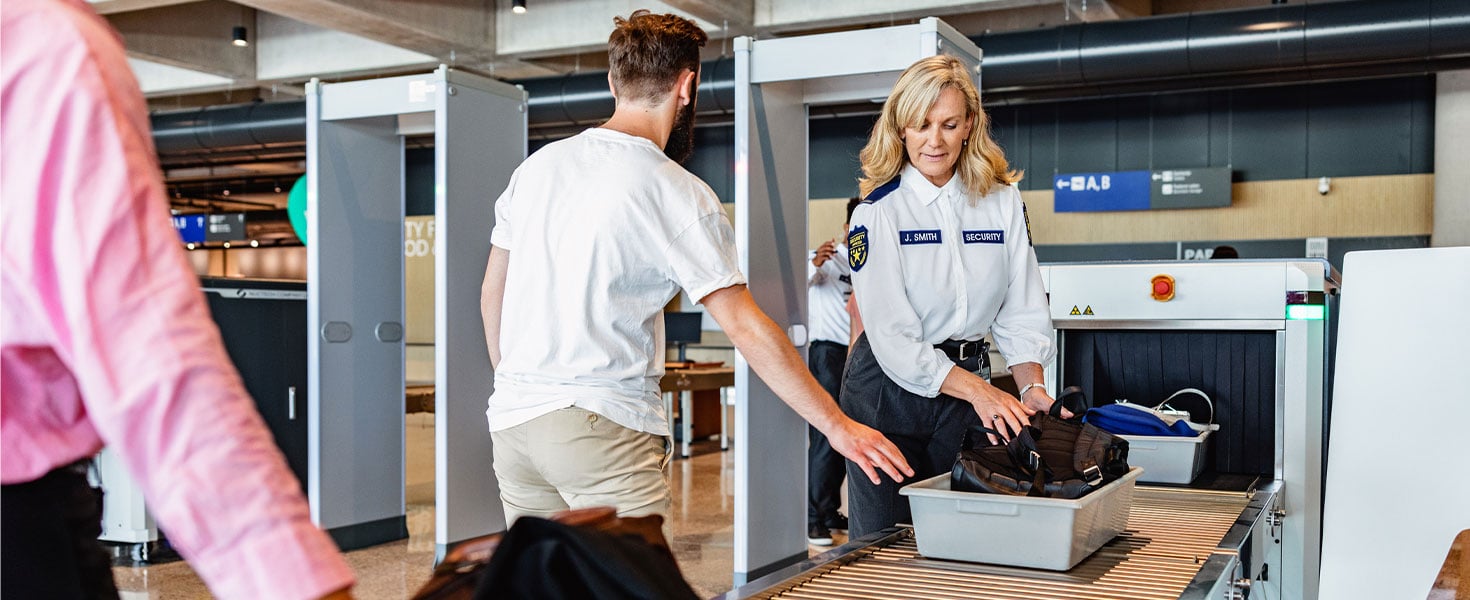
Pick the right line
No one likes waiting only to be turned away for being in the wrong line. Airport security has many lines, each intended for different travelers. If you need help, show your boarding pass to the airport staff near the security entrance. Otherwise, read the signage and select the correct line, whether general security, TSA PreCheck, Clear + TSA PreCheck, Clear + general security, or an airline-specific priority access line.
You may have access to only one of the above airport security lines, or all of them. If you can access multiple lines, you aren't required to use any specific one. Select the shortest one, to hopefully speed you on your way. For example, if you're a Clear member, you can bypass Clear and opt for the shorter TSA PreCheck line.
Also, note that not all of these security lines are available at all airport entrances. It might be worthwhile to walk to a different checkpoint if the first didn’t offer expedited options.
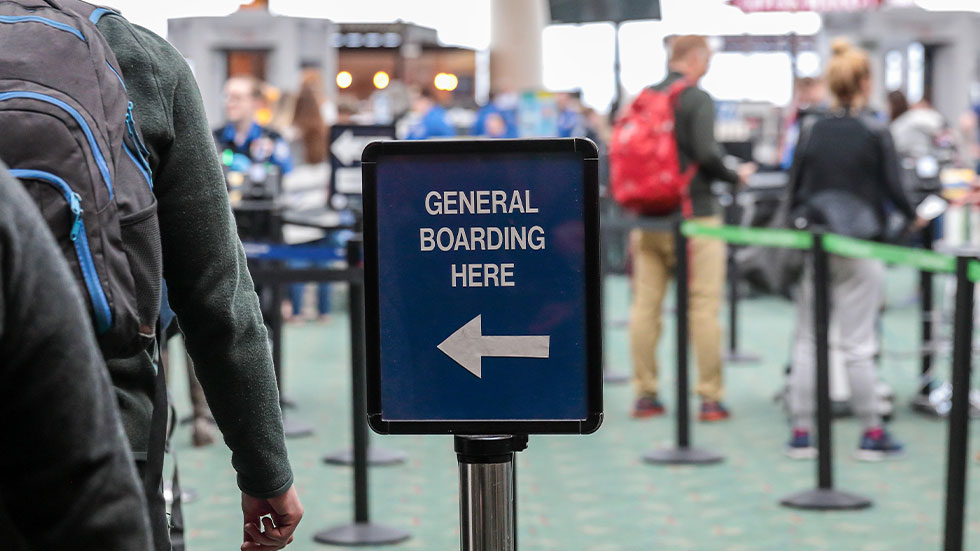
Show up early
There are usually a few things to do before arriving at your departure gate. Checking a bag and riding a train or bus to a different terminal can take valuable time. Airport security is another potential time drain.
The time required to get through security lines can vary greatly based on the airport you're departing from, the day of the week, and the time of day. Be sure to factor in extra time in case you encounter long lines at the TSA checkpoint.
Before your trip, determine how early to arrive so you can get through security smoothly. Some airports post live wait times on their website. For those that don't, you can check average TSA wait times.
If you have the Clear app, use the Home-to-Gate feature to receive a recommended departure time from your home or hotel.
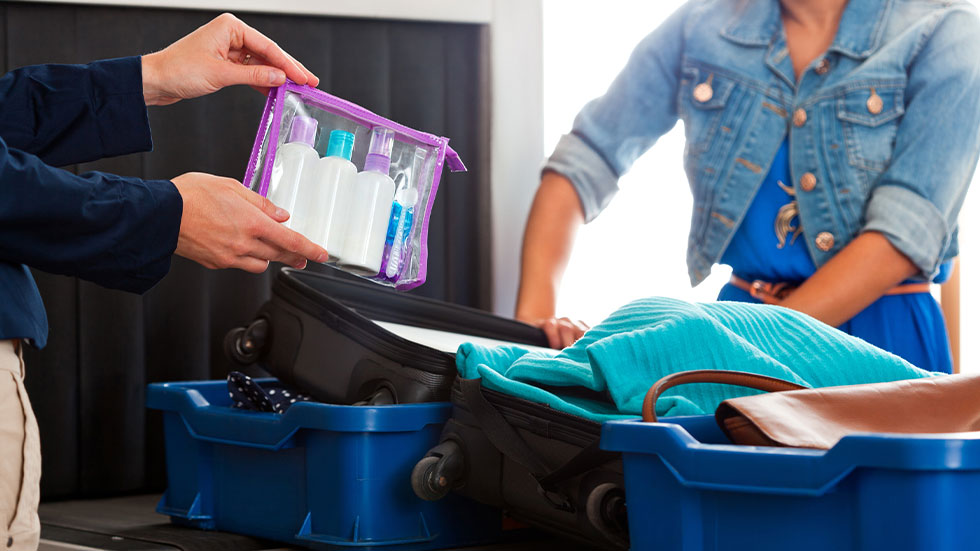
Know the rules
It’s never fun when your bag is pulled aside for additional screening, which requires more time in the security line. To avoid this, know what you can carry on board and what must be in a checked bag. The TSA website and the My TSA app provide detailed information in an easy-to-search format to help you determine whether specific items are allowed.
If you're traveling domestically, you'll need a REAL ID-compliant driver's license or a valid US passport by May 7, 2025, in order to board flights.
Pay for faster access
For the fastest route through airport security, combine the first three tips with a TSA PreCheck or Clear membership.
TSA PreCheck will allow you to navigate the physical screening process the quickest, because you don’t have to remove your shoes, belt, jacket, or laptop. For just $78, you can purchase a five-year membership to TSA PreCheck. According to the TSA, "about 99% of TSA PreCheck passengers wait less than 10 minutes" to clear security.
Clear membership allows you to navigate the ID-check process the quickest. Users verify their identity with an eye or fingerprint scanner and then are escorted to the front of the TSA PreCheck line.
For an additional $199 per year, you can pair a Clear membership with their TSA PreCheck membership and experience the most expedited security clearance. If you have airline status benefits and/or reward credit cards, you may be able to get these faster-access programs at no cost.